Adding music to Google Slides can elevate your presentations and create a more engaging experience for your audience. However, it is essential to use music thoughtfully and ensure it complements your content. We’ll guide you through the process of adding background music to your Google Slides and provide helpful tips for a seamless presentation.

How to Add Music to Google Slides
Presentations play a crucial role in conveying ideas and information effectively. To make your Google Slides even more engaging, adding background music can create a memorable experience for your audience. In this comprehensive guide, we’ll walk you through the step-by-step process of adding music to your Google Slides presentations.
1. Find Suitable Music:
The first step is to find music that complements your presentation content and sets the right tone. You can search for royalty-free music on various platforms like YouTube Audio Library, Free Music Archive, or premium stock music websites.
2. Convert Music to Supported Format:
Ensure the selected music is in a compatible format with Google Slides. The supported audio formats are MP3, WAV, and OGG. If your music is in a different format, you can use online audio converters to convert it accordingly.
3. Upload Music to Google Drive:
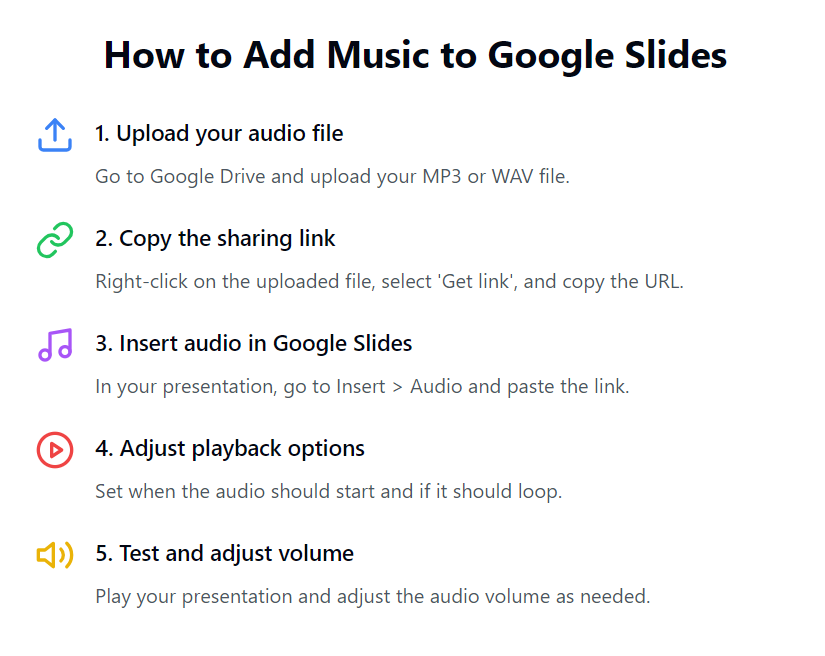
To use music in Google Slides, you need to upload the audio file to your Google Drive account. Open Google Drive, click on the “+ New” button, and select “File Upload.” Choose the converted music file from your computer, and it will be uploaded to your Drive.
4. Insert Music into Google Slides:
Open the Google Slides presentation you want to enhance with music. From the menu, select “Insert,” then “Audio.” In the dialogue box, navigate to the “Google Drive” tab, find the uploaded music file, and click “Select” to insert it into your presentation.
5. Set Music Playback Options:
After inserting the music, click on the audio icon in your slide. A toolbar will appear; click on the “Format options” icon (paint roller). Here, you can choose the playback options like starting the music automatically, looping, or setting the volume level.
6. Test and Finalize Presentation:
Play through your presentation to check if the music aligns with the content and flows smoothly. Adjust the timing, volume, or other settings as needed. Save your final presentation, and you’re ready to captivate your audience with your enhanced Google Slides.
Tips for Using Music in Google Slides:
Appropriate Music Selection:
Choose music that fits the theme and mood of your presentation. Avoid using distracting or overly loud tracks that may overshadow your message.
Timing and Looping:
Time the music to match the flow of your slides. If your presentation is longer than the music, enable looping to ensure a seamless listening experience.
Volume Control:
Adjust the music volume so that it enhances your presentation without overpowering your voice or content.
Consider Copyright and Licensing:
Always use royalty-free or properly licensed music to avoid copyright issues. Platforms like YouTube Audio Library offer a selection of copyright-free tracks for your presentations.
Adding music to Google Slides can significantly enhance your presentations and create a more engaging experience for your audience. By following our step-by-step guide and considering the tips provided, you can create impactful presentations that leave a lasting impression on your viewers. Use music thoughtfully, and remember that it should complement your content and not distract from it. Happy presenting!
Discover more from TechResider Submit AI Tool
Subscribe to get the latest posts sent to your email.
